|
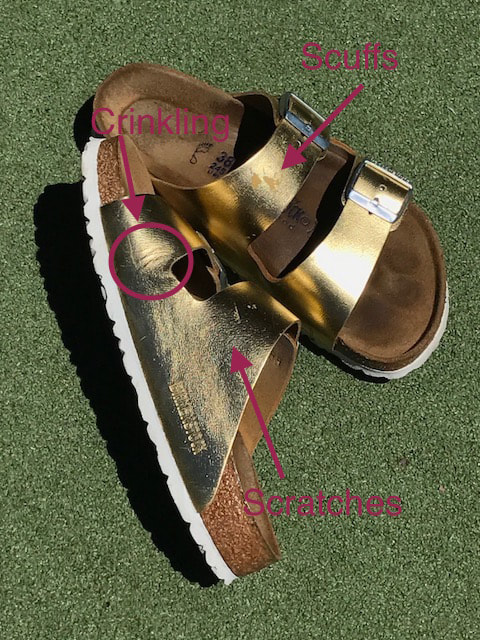
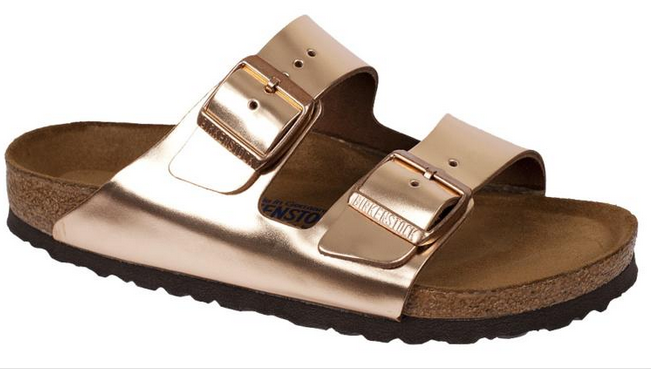
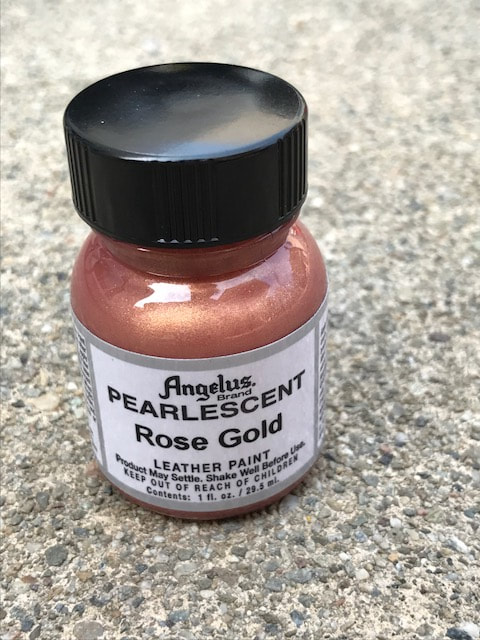
Labor Day weekend in the Bay Area was blistering. I am not talking about the type of blisters like you might get while you break-in Birkenstocks. I am talking about blistering heat. Something we rarely see in the Bay Area. In fact, temperatures in the Bay Area were record breaking. It was so frickin' hot that we could not do anything. Heat warnings were in effect and the air quality was crappy from fires in Oregon and Central California. The temperature in our house reached 93 degrees. We don’t have Air Conditioning (A/C) because we simply don’t need it. Living around here, we have free A/C and we call it fog. However, over Labor Day weekend, the fog vanished and was a distant memory. We had to brave the heat. Bay Area natives, like myself, tend to be wimps when it comes to excessive heat. Without A/C, it was so stifling that we spent most of the weekend in our yard, under the umbrella, watching the kids play in the kiddie pool. After two days of doing absolutely nothing but playing in water with the kids, I decided I needed to do something productive. I could feel my inner artist trying to break out and I decided to bust out a pair of Birkenstocks and start creating. I had purchased some Angelus leather paint a couple weeks ago and have been toying with the idea of using it to Bespoke a pair of Birkenstocks. Now was as good as time as any. I could watch the kids play in the pool and paint my Birks in 100+ degree heat. I have been wanting a pair of Birkenstock Arizonas in metallic copper for a few years now. In the past, the Arizonas were only sold in the US in narrow width. Just recently US retailers began selling these particular Birks in regular width, but with white soles. However, after my experience with my gold metallic Birkenstocks peeling, I told myself that I would never again purchase another pair of shiny metallic Birks. And I meant it. But that did not mean that I could not create my own pair. After experimenting with dyeing leather Birkenstocks, I began researching other techniques for designing Bespoke Birkenstocks. There seems to be an entire underground revolution for customizing kicks. I figured that I could utilize the products that these artists were using on my leather Birks. The product that many of the artists were using was Angelus leather paint. When I went to Angelus’ webpage, I found that they had an entire section devoted to pearlescent and metallic paint. Angelus carried a pearlescent rose gold leather paint that looked incredibly similar to the metallic copper Birks that I have been drooling over for years. A few weeks ago, I purchased a pair of $15 thrashed Birkenstocks on Poshmark with which I could experiment. I wanted to test Angelus’ leather paint on something that I had no attachment with before trying it on a pair of Birks that I cared about. The paint successfully adhered to the leather. No fading, no smudging, and no cracking. It was time to Bespoke my Birkenstocks! Some of you might be wondering why I would bother with such a process. If you have not figured it out yet, I am a tad bit obsessed with Birkenstocks and have an inner artistic side. Why not utilize the artist in me and create a pair of Birkenstocks that I wanted? Plus, there was not much else I could do during the heat wave. Since I could not purchase the color of Birkenstock Arizonas in my width, with brown soles, that would not scratch and peel, in the US, I was going to make them myself. I think Angelus’ Instgram account summarizes it best, “Create what you can’t have”. My customized Birkenstocks would include everything that I ever dreamed of:
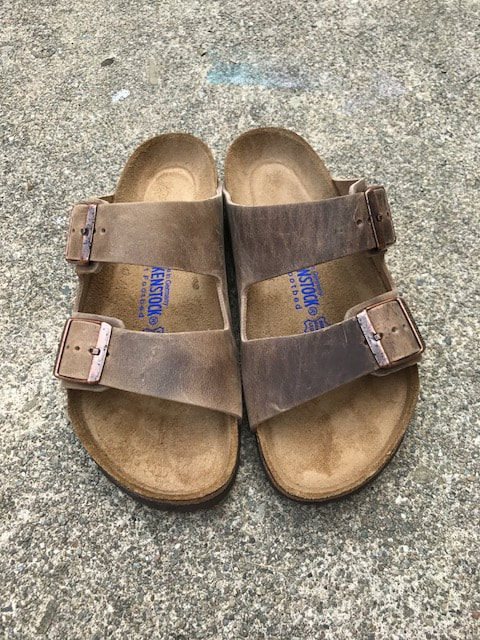
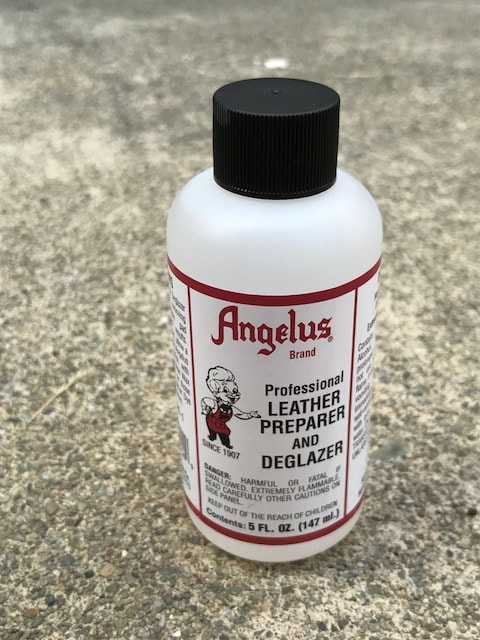
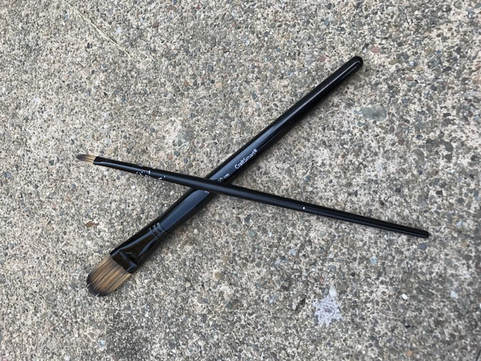
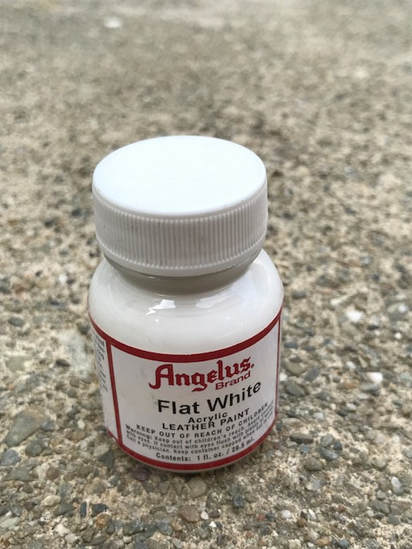
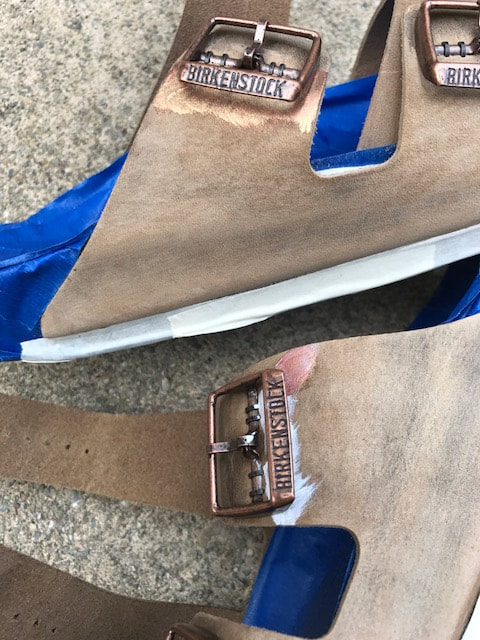
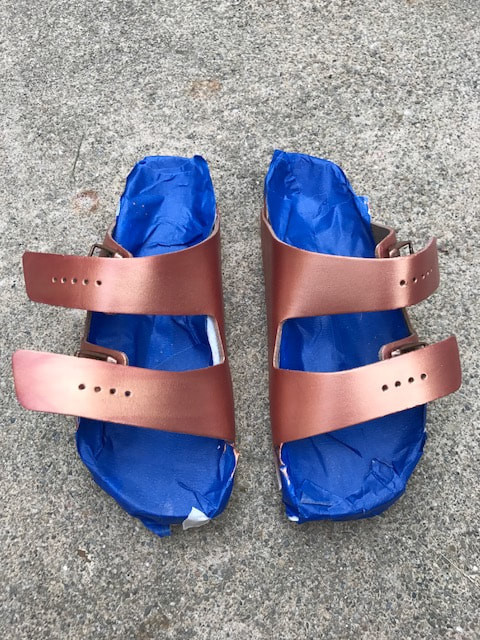
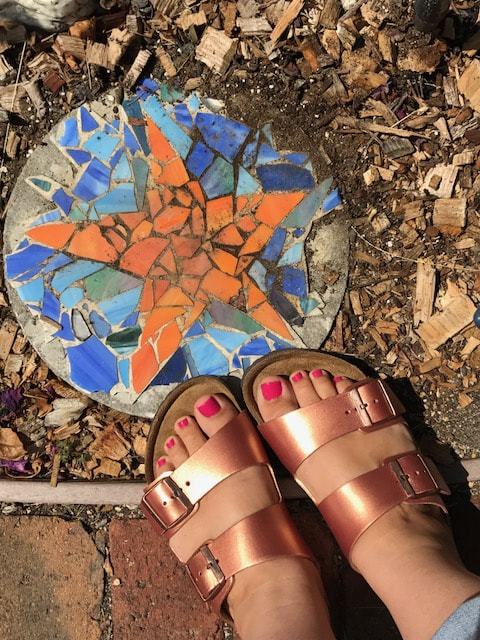
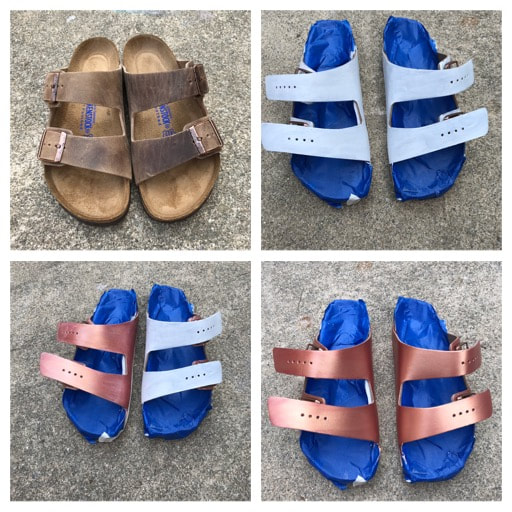
I watched several YouTube Videos and followed the directions on the Angelus webpage to create a game plan for painting my Birkenstocks. I chose the lightest color of oiled leather uppers that I could find in my size. I went with the Tobacco color because they had the buckles that I wanted, along with the proper color soles. Here is a list of items needed to Bespoke Birkenstocks: 1. Birkenstocks 2. Well ventilated work area 3. Rags 4. Painter’s tape or Masking Tape 5. Angelus Leather Preparer & Deglazer and a rag 6. Paint Brushes. One large, one small. 7. Angelus Flat White Coat 8. Angelus Leather Paint any color you choose 9. Be safe! Use gloves, a safety mask and goggles Steps to Bespoke Birkenstocks: 1. Make sure that the leather uppers are clean 2. Use painter’s tape and/or masking tape to cover the entire footbed and sole 3. Apply Angelus Leather Preparer & Deglazer to a rag and start wiping. Per Angelus’ webpage, this step is essential because the deglazer will remove the factory finish, thereby leaving a clean surface on which the Angelus Paint can adhere. 4. Allow the uppers to dry 5. Apply a primary coat of flat white paint to the leather before using the Angelus leather paint of your choice. I tested an inconspicuous area under the buckle to determine if I would apply a white base coat vs applying the rose gold color directly to the leather. Below is a picture showing the difference: Painting the rose gold directly onto the tobacco colored leather created a gold effect. Painting the rose gold onto the flat white base coat created the color shown in the bottle. This was exactly the color I wanted. 6. Use a wide brush and paint on a thin layer of your desired color. Use long, gentle strokes when applying the paint. You will need to use a small brush to get the areas around the buckles. 7. Allow each coat of paint to dry 5-10 minutes before painting on another coat. Apply as many coats needed to get the color that you desire. It took me 4 coats to get the exact rose gold color that I wanted. About halfway through the painting project, my youngest kid decided to spray me with the garden hose. He also sprayed the Birkenstocks that I was painting in the process. I freaked a little because I thought that there would be water spots left on the paint and leather. Surprisingly, the water rolled off the uppers and no stains were left. Angelus leather paint is top notch in terms on quality. The paint went on smooth and even. There was no evidence of brush strokes either. The paint dried within minutes, allowing me to apply multiple layers in a short amount of time. I completed the process in less than one hour. Using the leather paint was more time efficient and a heck of a lot less messy compared to dyeing leather. I set the shoes aside to dry for several hours indoors. By dinnertime, I was proudly wearing my pearlescent rose gold Birkenstocks. After completing this project, I realized that one could do this on any color leather Birkenstock, provided one uses a white base coat. To be successful, one may need to paint multiple layers of the flat white paint onto darker leathers before applying one's desired color. Do you have an old pair of leather Birkenstocks in your closet that you have not been wearing? Why not pull them out and use Aneglus leather paint to give them a facelift? You can completely overhaul your old leather Birkenstocks, in any color that you desire, all for the price of $3.00. I most certainly will be painting another pair of Birkenstocks in the future. I just hope it won’t be during another heatwave. There are so many color options available from Angelus that I cannot decide what color to choose. What color should I paint my next pair of Birkenstocks? What color would you select? Send me an email and let me know your thoughts.
NOTE: For other tips on how to color change your Birkenstocks, click here and here. Comments are closed.
|
Gina MamaBirkenstock blogger Blog List
All
Archives
July 2024
|


 RSS Feed
